Best Wood Finishes for Beginners: Oil, Wax, Poly, and More
A complete guide to wood finishes for beginners. Learn the differences between oil, wax, polyurethane, lacquer, and shellac — plus product recommendations for each.
Why Finishing Matters More Than You Think
You’ve spent hours measuring, cutting, and sanding your project to perfection. The joinery is tight, the surfaces are smooth, and it looks amazing. Then you slap on the wrong finish and it looks like a middle school shop class reject.
Finishing is where good projects become great — or where great projects go wrong. The right finish protects the wood from moisture, wear, and UV damage while enhancing the natural grain and color. The wrong finish can obscure beautiful grain, feel sticky for weeks, or peel off entirely within months.
The good news: finishing isn’t complicated. You just need to understand the main types, know which one fits your project, and follow a few basic rules. This guide breaks down every common wood finish in plain language, with specific product recommendations so you’re not guessing at the store.
Understanding the Two Finish Categories
Before diving into specific products, you need to understand the fundamental divide in wood finishes:
Penetrating Finishes
These soak into the wood fibers rather than forming a film on the surface. They enhance the natural feel of wood — you can still feel the grain under your fingers. They’re easier to apply and repair but offer less protection against water and scratches.
Examples: Danish oil, tung oil, linseed oil, wax.
Film-Forming Finishes
These create a hard, protective layer on top of the wood surface. They offer superior protection against water, heat, and physical damage. They’re more durable but harder to apply without flaws and more difficult to repair.
Examples: Polyurethane, lacquer, shellac, varnish.
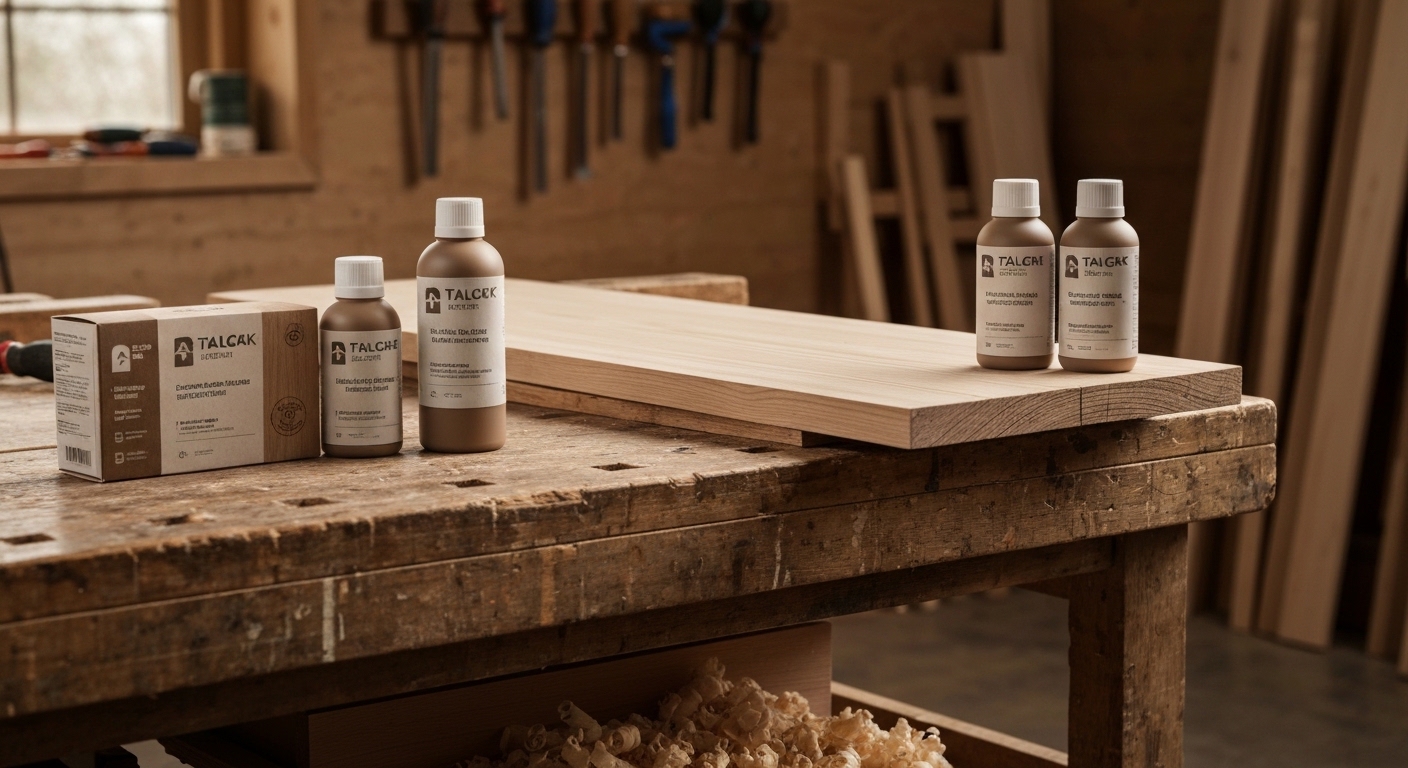
1. Danish Oil — Best All-Around Beginner Finish
Danish oil is a blend of oil (usually tung or linseed) and varnish. It penetrates the wood to bring out the grain while providing moderate protection. It’s nearly impossible to mess up, which makes it the ideal starting point for beginners.
How to apply: Flood the surface with a generous amount using a rag or brush. Let it soak for 15-20 minutes, then wipe off all excess. Repeat for 2-3 coats, with light sanding (320-grit) between coats. That’s it.
Best for: Furniture, shelves, cutting boards (food-safe varieties only), decorative pieces.
Not great for: High-wear surfaces like table tops that see daily use, outdoor projects, anything exposed to standing water.
Recommended: Watco Danish Oil, Natural — The classic. Available in natural and several wood-tone colors. Dries in about 8 hours between coats.
Also great: Tried & True Danish Oil — Food-safe, zero VOCs, made from polymerized linseed oil and beeswax. Slightly more expensive but excellent for kitchen items.
Pro tip: Danish oil looks especially stunning on walnut, cherry, and mahogany. On pine, it can look blotchy — use a pre-stain conditioner first if you’re working with softwoods.
2. Polyurethane — Best for Durability
Polyurethane is the workhorse of wood finishes. It forms a hard, clear film that resists water, heat, scratches, and chemicals. It comes in two varieties: oil-based and water-based, and the difference matters.
Oil-Based Polyurethane
Adds a warm, amber tone to the wood that deepens over time. Longer dry time (4-6 hours between coats), stronger odor, but produces a thicker, more durable finish per coat.
Recommended: Minwax Fast-Drying Polyurethane, Semi-Gloss — The standard. Available in gloss, semi-gloss, and satin. Three coats over two days gives you a finish that’ll last decades.
Water-Based Polyurethane
Dries crystal clear with no amber tint, making it ideal for light-colored woods where you want to preserve the natural color. Dries much faster (1-2 hours between coats) and has much less odor. Slightly less durable per coat than oil-based.
Recommended: General Finishes High Performance Water-Based Topcoat, Satin — This is a step above the hardware store brands. Levels beautifully, dries fast, and the satin sheen looks professional.
How to apply: Use a high-quality brush or foam applicator. Apply thin, even coats — the number one mistake is applying too thick. Lightly sand with 220 or 320-grit between coats once dry. Three coats minimum for tabletops.
Best for: Dining tables, kitchen cabinets, bathroom vanities, high-traffic surfaces.
Safety warning: Oil-based polyurethane releases strong fumes. Work in a well-ventilated area and wear a respirator. Keep it away from open flames.
3. Wax — Best for a Soft, Natural Feel
Paste wax gives wood a subtle, low-luster sheen that feels incredibly smooth under the hand. It’s the finish of choice for antique restoration and pieces where you want a natural, understated look.
Wax offers minimal protection against water and scratches. It’s best used as a topcoat over another finish (like shellac or Danish oil) or on pieces that won’t see heavy use.
How to apply: Scoop a small amount onto a clean rag or cheesecloth, rub it into the wood using circular motions, let it haze for 10-15 minutes, then buff with a clean cloth until it shines.
Recommended: Howard Citrus Shield Paste Wax — Smells like oranges instead of chemicals, applies smoothly, and buffs to a beautiful soft sheen.
Also great: Briwax Original Wax — A furniture restorer’s favorite. Available in several tinted colors for matching antique finishes.
Best for: Decorative items, turned pieces, antique restoration, as a topcoat over shellac.
Pro tip: Wax and polyurethane don’t play well together. Don’t apply poly over wax — it won’t adhere. If you want to use both, poly goes on first, wax on top.
4. Shellac — Best for Speed and Compatibility
Shellac is a natural finish made from lac bug secretions dissolved in alcohol. That sounds strange, but the result is one of the most versatile and user-friendly finishes in woodworking. It dries in minutes, builds quickly, and serves as a universal sealer that’s compatible with virtually any topcoat.
How to apply: Thin it with denatured alcohol to a “1-pound cut” for sealing or use a heavier “2-pound cut” for building a finish. Apply with a brush or pad in thin coats. Each coat dries in 15-30 minutes, so you can apply 3-4 coats in an hour.
Recommended: Zinsser Bulls Eye SealCoat — Pre-mixed, dewaxed shellac. Perfect as a sealer coat before polyurethane, or as a standalone finish for low-wear pieces. The “dewaxed” part is important — it means you can topcoat it with anything.
Best for: Sealer coats, quick projects, French polishing (advanced technique), interior furniture.
Not great for: Anything exposed to water or alcohol — shellac dissolves in both. Don’t use it on bar tops or kitchen surfaces.
5. Tung Oil — Best Natural, Food-Safe Finish
Pure tung oil is pressed from the nuts of the tung tree. It penetrates deep into the wood, hardens through polymerization, and provides decent water resistance for a penetrating finish. It’s food-safe once fully cured, making it popular for cutting boards and kitchen utensils.
Important distinction: “Tung oil finish” products often contain very little actual tung oil. Read labels carefully. You want 100% pure tung oil.
How to apply: Thin the first coat 50/50 with mineral spirits for better penetration. Apply with a rag, let it soak for 30 minutes, then wipe off all excess. Allow 24-48 hours between coats. Apply 4-6 coats for a durable finish.
Recommended: Real Milk Paint Pure Tung Oil — Genuine 100% tung oil, no additives, no driers. It cures slowly but the result is worth the wait.
Best for: Cutting boards, wooden utensils, butcher blocks, outdoor furniture (with enough coats).
Pro tip: Tung oil takes 15-30 days to fully cure. The wood will smell faintly oily and may feel soft until curing is complete. Be patient.
6. Spray Lacquer — Best for Small Projects and Crafts
Spray lacquer comes in a rattle can and dries in minutes. It’s not the most durable finish, but for small projects, boxes, picture frames, and anything where brush marks would be visible, it’s incredibly convenient.
How to apply: Light, overlapping passes from 10-12 inches away. Multiple thin coats (4-5 is typical) with 15-30 minutes between coats. Can be sanded smooth with 400-grit between coats for a mirror-like finish.
Recommended: Deft Clear Wood Finish Lacquer, Satin — Excellent spray pattern, dries quickly, and the satin sheen is perfect for most projects.
Best for: Small boxes, picture frames, ornaments, turned pieces, anything you’d rather not brush.
Safety warning: Spray lacquer is extremely flammable and the fumes are hazardous. Always spray outdoors or in a well-ventilated area away from ignition sources. Wear a respirator rated for organic vapors.
7. Linseed Oil — Budget-Friendly Traditional Finish
Linseed oil has been used as a wood finish for centuries. It brings out grain beautifully and is very affordable. However, raw linseed oil takes days to dry between coats. Use “boiled” linseed oil (which has added driers) for practical application times.
Recommended: Sunnyside Boiled Linseed Oil — Inexpensive, widely available, and effective. Usually around $10-15 per quart.
Best for: Workshop furniture, tool handles, outdoor rough-use items, anywhere you want a simple, traditional finish.
Safety warning: Rags soaked with linseed oil can spontaneously combust. This is not a myth — it is a real fire hazard. Always spread used rags flat to dry outdoors, or submerge them in a bucket of water. Never ball them up and throw them in a trash can.
Quick Reference: Which Finish Should I Use?
| Project Type | Recommended Finish | Why |
|---|---|---|
| Dining table | Oil-based polyurethane | Maximum durability for daily use |
| Bookshelf | Danish oil | Easy application, beautiful look |
| Cutting board | Pure tung oil | Food-safe, water-resistant |
| Kitchen cabinets | Water-based polyurethane | Durable, no yellowing |
| Outdoor furniture | Spar urethane or marine varnish | UV and weather resistance |
| Jewelry box | Shellac + wax | Quick, beautiful, low-wear |
| Turned bowl | Danish oil or tung oil | Enhances grain, easy to apply |
| Picture frame | Spray lacquer | Smooth finish, no brush marks |
Five Finishing Rules for Beginners
-
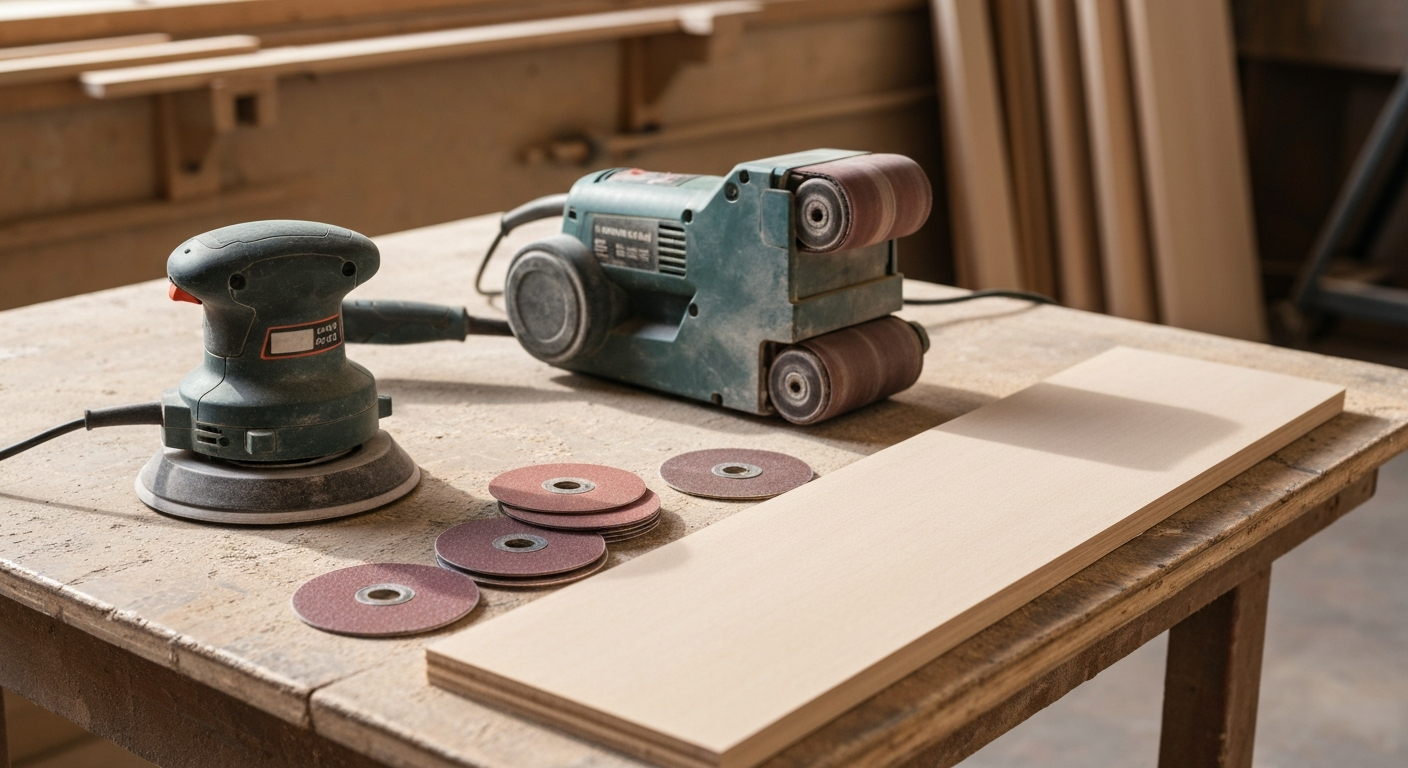
Sand properly before you finish. Work through the grits: 120, 150, 220. The finish can’t fix a poorly sanded surface.
-
Always test on scrap wood. Use a cutoff from the same board to test your finish before committing. This prevents surprises.
-
Thin coats, more coats. One thick coat always looks worse than three thin ones. Runs, drips, and bubbles come from applying too much at once.
-
Sand between coats. A light scuff with 220 or 320-grit between coats helps each layer bond to the previous one and removes dust nibs.
-
Be patient with cure times. Dry to the touch and fully cured are different things. Most finishes need 24-72 hours of cure time before the piece is ready for use.
Final Thoughts
If you’re new to finishing and want one product to start with, get a can of Danish oil. It’s forgiving, it looks great on almost everything, and it teaches you the fundamental finishing workflow — apply, wait, wipe, repeat — without the anxiety of drips and brush marks.
As your projects get more ambitious, expand to polyurethane for durability and shellac for versatility. Build your finishing skills the same way you build your tool collection: one step at a time, led by the needs of your projects.
Related reading: Beginner Woodworking Joints Guide
Related reading: Epoxy Resin Beginners Guide