DIY vs Hire a Pro: When to Call a Professional
Not every home improvement project is a weekend warrior special. Learn which projects are safe to tackle yourself and which ones demand a licensed professional — before a small mistake turns into a costly disaster.
The Big Question Every Homeowner Faces
You stare at the leaky faucet, the cracked drywall, the outdated light fixture. YouTube makes it look easy. Your neighbor did it over a weekend. How hard can it be?
Sometimes the answer is “not hard at all.” Other times, that confident attitude ends with a flooded kitchen, a tripped breaker, or a call to a professional who now has to fix your fix — at double the cost.
This guide breaks down the major categories of home improvement work and gives you a straight answer on what you can handle yourself and what deserves a phone call to a licensed pro.
The Decision Framework
Before diving into specific projects, here is a simple framework for evaluating any home improvement task:
Ask Yourself These Five Questions
- Does it require a permit? If yes, there is a good chance it requires (or strongly benefits from) professional work. Unpermitted work can tank your home value and create liability nightmares.
- Could a mistake cause injury or death? Electrical fires, gas leaks, and structural failures are not hypothetical risks. They happen every year to overconfident DIYers.
- Is the mistake reversible? Painting a wall the wrong color is fixable. Cutting a load-bearing beam is not.
- Do I need specialized tools I will only use once? Renting or buying expensive specialty tools for a single job often erases the savings of doing it yourself.
- What is the realistic cost of failure? If messing up means spending $5,000 to redo the work, the $800 you were trying to save by going DIY is not worth the gamble.
Cosmetic Projects: Almost Always DIY
Cosmetic upgrades are where DIY shines. The stakes are low, the skills are learnable, and the savings are real.
Safe DIY Cosmetic Projects
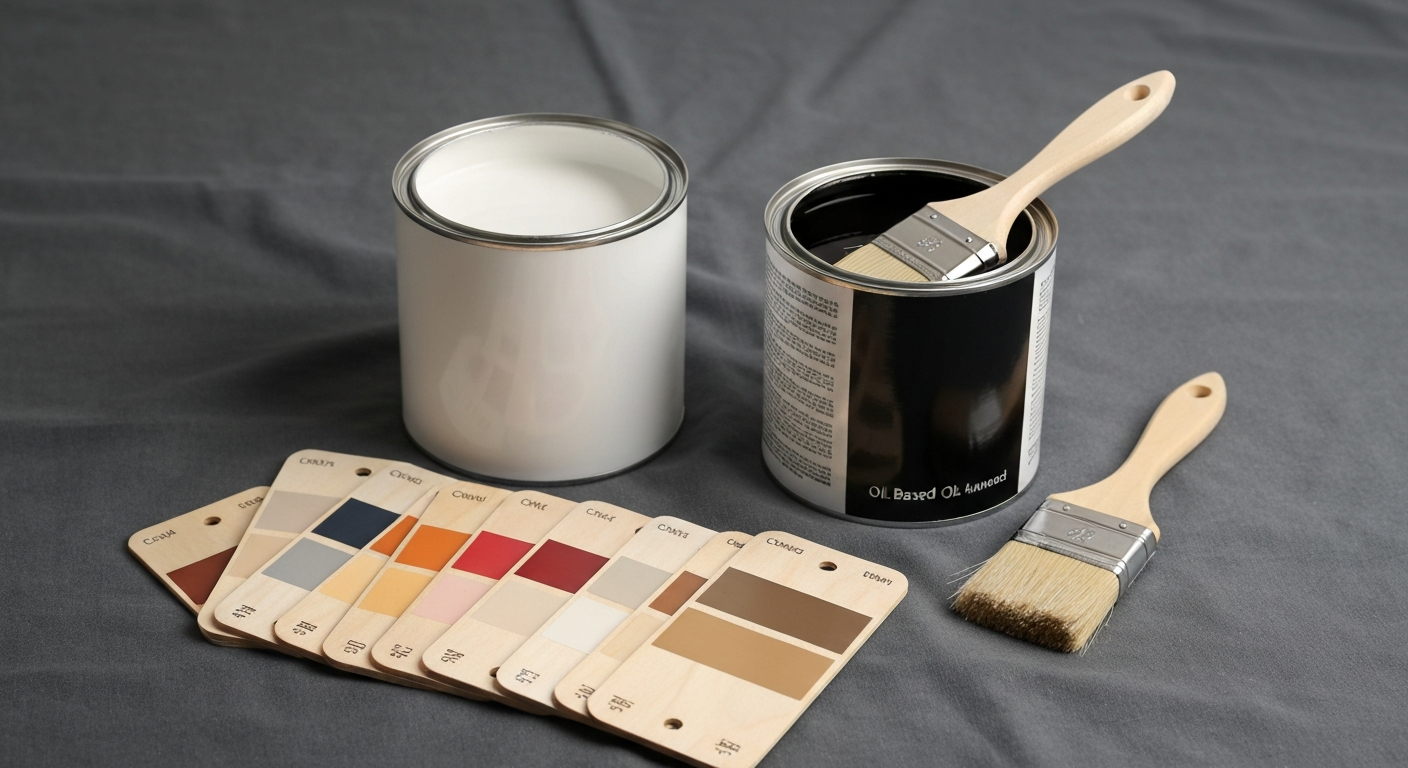
- Painting walls and ceilings — The single best bang-for-your-buck DIY project. A gallon of quality paint costs $30-50 and can transform a room in a day.
- Patching drywall — Small to medium holes are straightforward. Even larger patches are manageable with the right technique.
- Installing shelving and curtain rods — Basic drilling and anchoring. Just make sure you hit studs or use appropriate wall anchors.
- Replacing cabinet hardware — Swapping knobs and pulls is literally just unscrewing and screwing.
- Caulking bathrooms and kitchens — A $5 tube of caulk and 30 minutes can make a bathroom look five years younger.
- Installing peel-and-stick backsplash — Modern peel-and-stick tiles look surprisingly good and require zero specialized skills.
- Replacing light switch and outlet covers — No electrical work involved. Just snap off the old plate and snap on the new one.
When Cosmetic Work Needs a Pro
- Plaster repair on historic homes — Plaster is a different beast than drywall. Matching textures on old plaster takes real skill.
- Exterior painting on multi-story homes — The risk of ladder falls makes this a safety issue, not a skill issue.
- Faux finishing or specialty textures — Venetian plaster, lime wash, and similar techniques require practiced hands.
Electrical Work: Tread Carefully
Electrical is where the DIY/pro line gets serious. Mistakes do not just look bad — they can burn your house down.
DIY-Safe Electrical Projects
- Replacing light fixtures (with the breaker off) — If you are swapping a fixture where wiring already exists, this is manageable. Turn off the breaker, confirm with a voltage tester, and follow the wire color matching.
- Installing smart switches — Similar to fixture swaps. The key requirement is having a neutral wire in the box.
- Replacing outlets and switches — Straightforward if existing wiring is in good shape. Always use a voltage tester.
- Installing a smart thermostat — Most modern thermostats come with excellent instructions and compatibility checkers.
Call a Licensed Electrician For
- Running new circuits — This requires understanding load calculations, wire sizing, and code compliance.
- Upgrading your electrical panel — A 100-amp to 200-amp upgrade is absolutely professional-only work.
- Adding outlets where none exist — Running new wire through walls requires permits and inspections in most jurisdictions.
- Any work involving your main service line — This is utility-level work. Do not touch it.
- Knob-and-tube or aluminum wiring — Older wiring types have specific handling requirements that are genuinely dangerous to get wrong.
The Non-Negotiable Safety Rule
Always, always, always turn off the breaker and verify with a non-contact voltage tester before touching any wiring. A non-contact voltage tester costs under $20 and could save your life.
Plumbing: It Depends on the Water
Plumbing projects range from “anyone can do this” to “one mistake floods your entire first floor.”
DIY-Friendly Plumbing
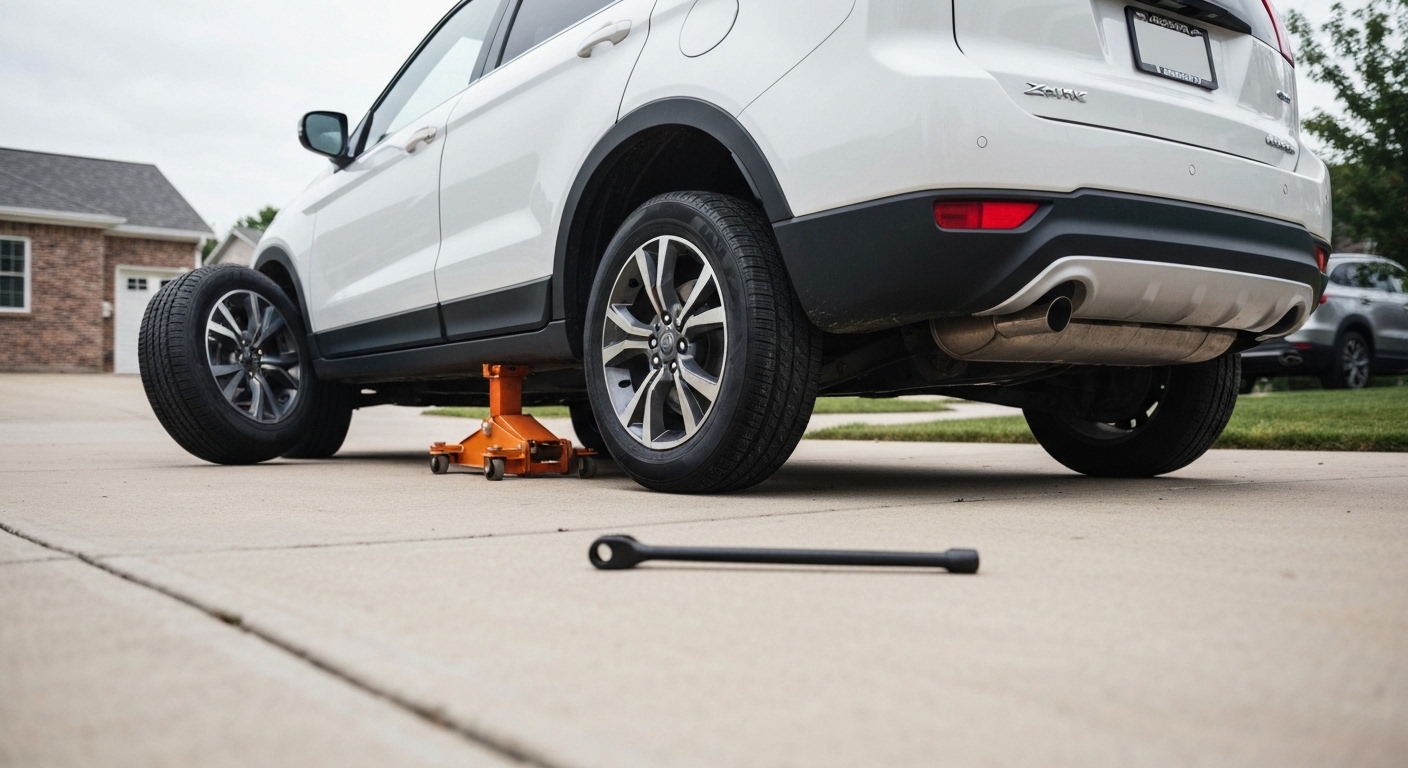
- Replacing a faucet — Modern faucets are designed for homeowner installation. Budget an hour and watch a video first.
- Replacing a toilet — Surprisingly simple. Unbolt the old one, scrape the wax ring, set the new one. The hardest part is lifting the toilet.
- Fixing a running toilet — Usually just a flapper or fill valve replacement. Parts cost under $15.
- Clearing simple drain clogs — A drain snake handles most clogs. Avoid chemical drain cleaners — they damage pipes over time.
- Installing a new showerhead — Unscrew the old one, wrap the threads with Teflon tape, screw on the new one. Five minutes.
- Replacing shut-off valves (compression fittings) — Push-fit connectors like SharkBite have made this accessible to DIYers.
Hire a Licensed Plumber For
- Moving drain or supply lines — This involves cutting into walls, understanding pipe slope, and meeting code.
- Water heater installation — Gas water heaters involve gas line connections. Even electric units have specific code requirements.
- Sewer line work — Anything involving your main sewer line is professional territory.
- Work requiring soldering copper pipe — While learnable, the risk of a bad joint causing a hidden leak inside a wall is too high for a first attempt.
- Gas line work of any kind — Gas leaks can be fatal. This is never a DIY project.
Structural Work: Almost Never DIY
If something holds your house up, a professional should be involved.
What Counts as Structural
- Load-bearing walls
- Foundation repairs
- Roof framing and trusses
- Floor joist repairs or modifications
- Header installation above doors and windows
- Any work that changes the structural load path
The One Exception
Removing a non-load-bearing wall can be a DIY project, but only after a structural engineer or experienced contractor has confirmed the wall is truly non-load-bearing. The cost of that consultation ($200-500) is nothing compared to the cost of removing a wall your roof depends on.
Flooring: Mostly DIY-Friendly
Modern flooring has been engineered for DIY installation, and this is one area where homeowners can save thousands.
Great DIY Flooring Projects
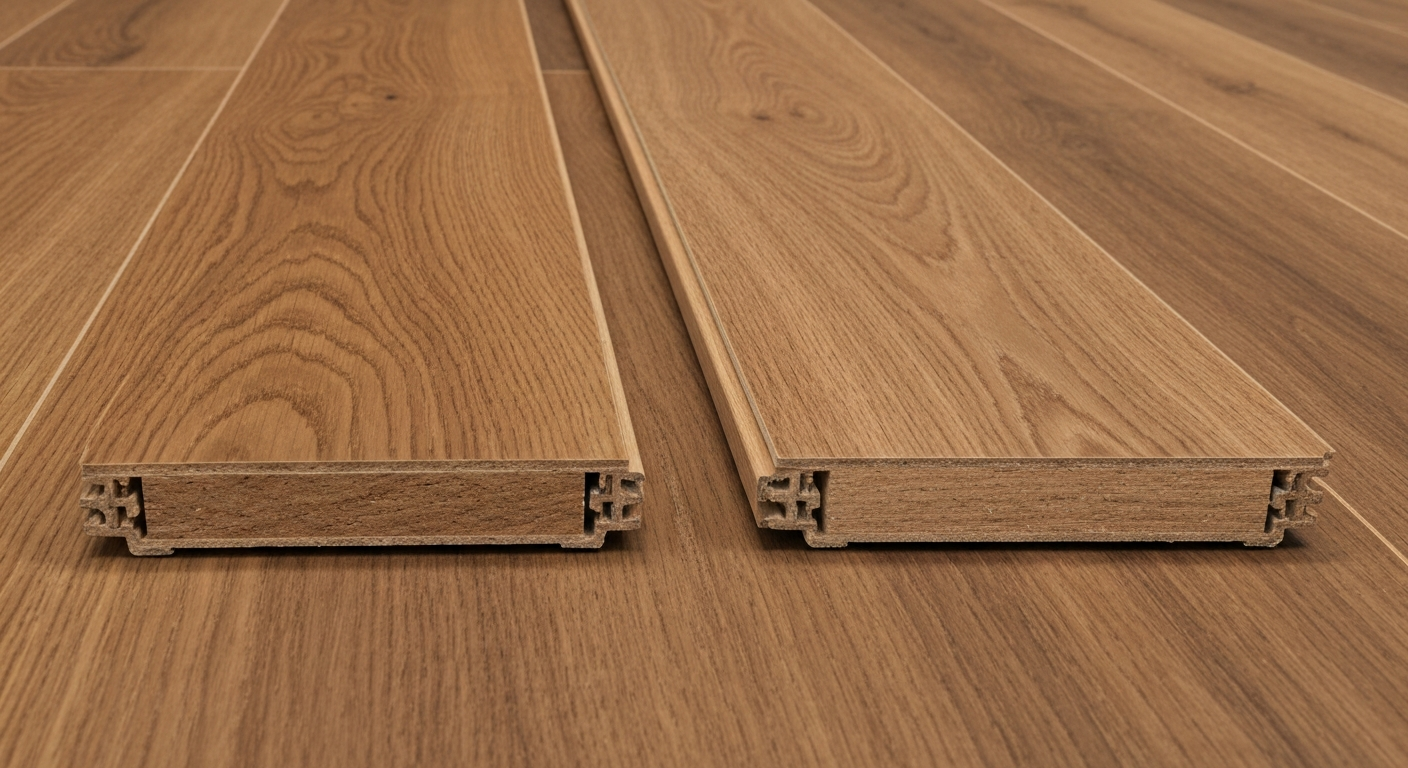
- Luxury vinyl plank (LVP) — Click-lock installation requires no glue, no nails, and no special tools. This is arguably the most DIY-friendly flooring available.
- Laminate flooring — Similar click-lock system. Slightly less forgiving of subfloor imperfections than LVP.
- Peel-and-stick vinyl tile — The easiest flooring to install, period. Great for laundry rooms and utility spaces.
- Engineered hardwood (floating installation) — Click-lock engineered hardwood installs just like laminate.
Consider Hiring For
- Hardwood refinishing — Drum sanders are aggressive and unforgiving. One moment of hesitation creates a visible gouge.
- Tile work (especially large format) — Tile installation requires precision, and mistakes are permanent. Small areas like a backsplash are manageable, but a full bathroom floor benefits from experience.
- Hardwood nail-down installation — Renting a floor nailer is possible, but getting consistent results across an entire room takes practice.
- Subfloor leveling — If your subfloor has significant unevenness, self-leveling compound is trickier than it looks.
HVAC: Maintenance DIY, Repairs Hire
DIY HVAC Maintenance
- Changing air filters (monthly during heavy use)
- Cleaning condenser coils with a garden hose
- Clearing condensate drain lines
- Sealing accessible ductwork with mastic
- Programming and replacing thermostats
Always Hire for HVAC
- Refrigerant handling (legally requires EPA certification)
- Furnace repairs involving gas or heat exchangers
- Duct design and installation
- System sizing and replacement
- Any work on mini-split or heat pump systems
The Money Math: When DIY Actually Saves
A common trap is assuming DIY always saves money. Here is a reality check:
| Project | DIY Cost | Pro Cost | DIY Savings | Risk Level |
|---|---|---|---|---|
| Paint a room | $50-100 | $300-600 | $250-500 | Low |
| Replace a faucet | $80-200 | $250-450 | $170-250 | Low |
| Patch drywall | $10-30 | $100-300 | $90-270 | Low |
| Install LVP flooring | $200-600 | $800-2,000 | $600-1,400 | Low |
| Replace a toilet | $100-300 | $250-500 | $150-200 | Low |
| Basic electrical swap | $20-50 | $150-300 | $130-250 | Medium |
| Tile a bathroom floor | $200-500 | $800-2,000 | $600-1,500 | Medium-High |
| Run new electrical | $50-200 | $500-1,500 | $450-1,300 | High |
The sweet spot for DIY is projects where savings are significant and risk is low. Painting, flooring, basic plumbing fixtures, and cosmetic upgrades almost always make sense to tackle yourself.
How to Find a Good Contractor
When you do need a pro, finding the right one matters enormously:
- Get at least three quotes — This gives you a realistic price range and lets you compare approaches.
- Verify licensing and insurance — Your state’s contractor licensing board has an online lookup. Use it.
- Check reviews on multiple platforms — Google, Yelp, and the Better Business Bureau. Look for patterns, not individual reviews.
- Ask for references on similar projects — A great bathroom remodeler might not be the right person for your deck.
- Get everything in writing — Scope of work, timeline, payment schedule, and warranty terms. No handshake deals.
- Never pay more than 10-30% upfront — Large deposits before work starts are a red flag.
Building Your DIY Confidence
If you are new to home improvement, start with the lowest-risk projects and work your way up:
Level 1: Painting, caulking, replacing hardware, installing shelves Level 2: Patching drywall, replacing faucets and toilets, installing floating floors Level 3: Replacing light fixtures and switches, tiling small areas, building simple furniture Level 4: Installing backsplash tile, running baseboard trim, building a deck (with plans)
Each successful project builds skills and confidence for the next one. There is no shame in starting small — every skilled DIYer began by painting a wall badly.
The Bottom Line
The best approach to home improvement is honest self-assessment. Know what you can handle, know what you cannot, and never let ego make that decision. The projects in this hub will walk you through the DIY-friendly side of home improvement, step by step. And when something is beyond your skill level, calling a pro is not admitting defeat — it is making the smart call.