Epoxy Resin for Beginners: Everything You Need to Know
A complete beginner's guide to epoxy resin — learn about resin types, safety gear, mixing ratios, pouring techniques, common mistakes, and project ideas to get started.
What Is Epoxy Resin and Why Is Everyone Obsessed With It?
If you have spent any time on craft social media, you have seen epoxy resin everywhere — river tables, jewelry, coasters, tumblers, and artwork that looks like it belongs in a gallery. Epoxy resin is a two-part liquid system (a resin and a hardener) that, when mixed together, triggers a chemical reaction and cures into a hard, glossy, glass-like solid.
The appeal is obvious. Resin lets you encapsulate objects, create transparent layers, add swirling colors, and build up depth in ways no other craft medium can match. And the best part? It is far more accessible than most people think. You do not need a workshop full of expensive tools. You need a few key supplies, a well-ventilated space, and the patience to follow some straightforward rules.
This hub guide covers everything you need to know to get started with epoxy resin — from choosing the right type for your project to avoiding the mistakes that trip up almost every beginner.
Types of Epoxy Resin
Not all resins are created equal. The type you choose depends entirely on what you want to make.
Coating Resin (Tabletop Resin)
Coating resin is designed to be poured in thin layers, typically 1/8 inch or less per pour. It self-levels beautifully, cures to a high-gloss finish, and is the go-to choice for coating artwork, photos, countertops, and tabletops.
- Best for: Coating surfaces, protecting artwork, bar tops, tabletops
- Pour depth: Up to 1/8 inch per layer
- Cure time: 24-72 hours
- Popular brands: ArtResin Epoxy Resin, Pro Marine Supplies Table Top Epoxy
Casting Resin (Deep Pour Resin)
Casting resin is formulated for thicker pours — usually 1 to 2 inches at a time, with some formulas allowing up to 4 inches. It cures more slowly, which prevents the excessive heat buildup that would cause cracking or yellowing in a thick pour.
- Best for: River tables, molds, embedding objects, deep castings
- Pour depth: 1-4 inches per layer depending on formula
- Cure time: 24-72 hours (full cure up to 7 days)
- Popular brands: Alumilite Amazing Deep Pour, FGCI Deep Pour Epoxy
UV Resin
UV resin is a single-component system that cures when exposed to ultraviolet light. No mixing required. It cures in minutes instead of hours, making it ideal for small, quick projects.
- Best for: Jewelry, small bezels, thin coatings, quick repairs
- Pour depth: Very thin layers only (1-2 mm)
- Cure time: 2-5 minutes under a UV lamp
- Popular brands: Limino UV Resin
Which Type Should You Start With?
If you are brand new, start with a small kit of coating resin and a set of silicone molds. Coating resin is the most forgiving for beginners, and molds give you a contained workspace where mistakes are easy to fix. A 16-32 oz kit is plenty to make your first set of coasters or a few pieces of jewelry.
Essential Safety Gear
Resin is a chemical product, and you need to treat it with respect. The uncured components can cause skin sensitization (meaning you can develop an allergy over time), and the fumes can irritate your lungs. Here is what you need every single time you work with resin.
Non-Negotiable Safety Equipment
- Nitrile gloves — Latex gloves are not sufficient. Resin will eat through them. Use nitrile. GLOVEWORKS Nitrile Gloves are affordable and reliable.
- Respirator with organic vapor cartridges — A dust mask does nothing for resin fumes. You need a proper respirator. The 3M Half Facepiece Respirator with 6001 organic vapor cartridges is the standard recommendation.
- Safety glasses — Protect your eyes from splashes. Any ANSI Z87.1 rated pair will work.
- Well-ventilated workspace — Work near an open window with a fan pulling air away from you, or ideally in a garage with the door open.
Pro Tip: Skin Contact Protocol
If resin gets on your skin, do not use acetone to clean it off. Acetone opens your pores and drives the chemicals deeper into your skin. Instead, use isopropyl alcohol or a mixture of dish soap and baking soda. Wash thoroughly with warm water.
Safety Warning: Repeated skin exposure to uncured resin can cause permanent sensitization. Once you develop a resin allergy, you may never be able to work with resin again. Always wear gloves — no exceptions.
Mixing Ratios and Technique
Getting the mix right is the single most important step in resin work. Get it wrong and your piece will never cure properly — it will stay sticky, soft, or tacky forever.
The Standard 1:1 Ratio
Most beginner-friendly resins use a 1:1 ratio by volume. That means equal parts resin and hardener. Some professional-grade resins use a 2:1 or 3:1 ratio, so always read the label on your specific product.
How to Measure Accurately
- Use graduated mixing cups with clear measurement lines. Disposable Graduated Mixing Cups are cheap and accurate.
- For small batches, measure by volume using the cup markings.
- For large batches or professional work, measure by weight using a digital kitchen scale.
- Never eyeball it. Even a small deviation from the correct ratio can cause curing problems.
The Mixing Process
- Pour the resin into your mixing cup first, then add the hardener.
- Stir slowly and deliberately for 3-5 minutes. Scrape the sides and bottom of the cup.
- Pour the mixture into a second clean cup and stir for another 1-2 minutes. This “double cup” method ensures thorough mixing and eliminates the unmixed resin that clings to the sides of the first cup.
- Do not rush. Undermixing is the number one cause of sticky, uncured spots.
Pro Tip: Temperature Matters
Resin cures best at room temperature, between 70-80 degrees Fahrenheit (21-27 degrees Celsius). If your workspace is cold, the resin will thicken and trap more bubbles. If it is too hot, the resin can cure too fast and crack or yellow. Warm your bottles in a water bath (not a microwave) before mixing if your room is cool.
Pouring Techniques
How you pour depends on what you are making, but a few universal principles apply to every project.
Thin Pours and Coatings
For coating artwork or surfaces, pour the resin into the center of your piece and let it flow outward naturally. Use a spreader, popsicle stick, or gloved hands to guide it to the edges. The resin will self-level within 15-30 minutes.
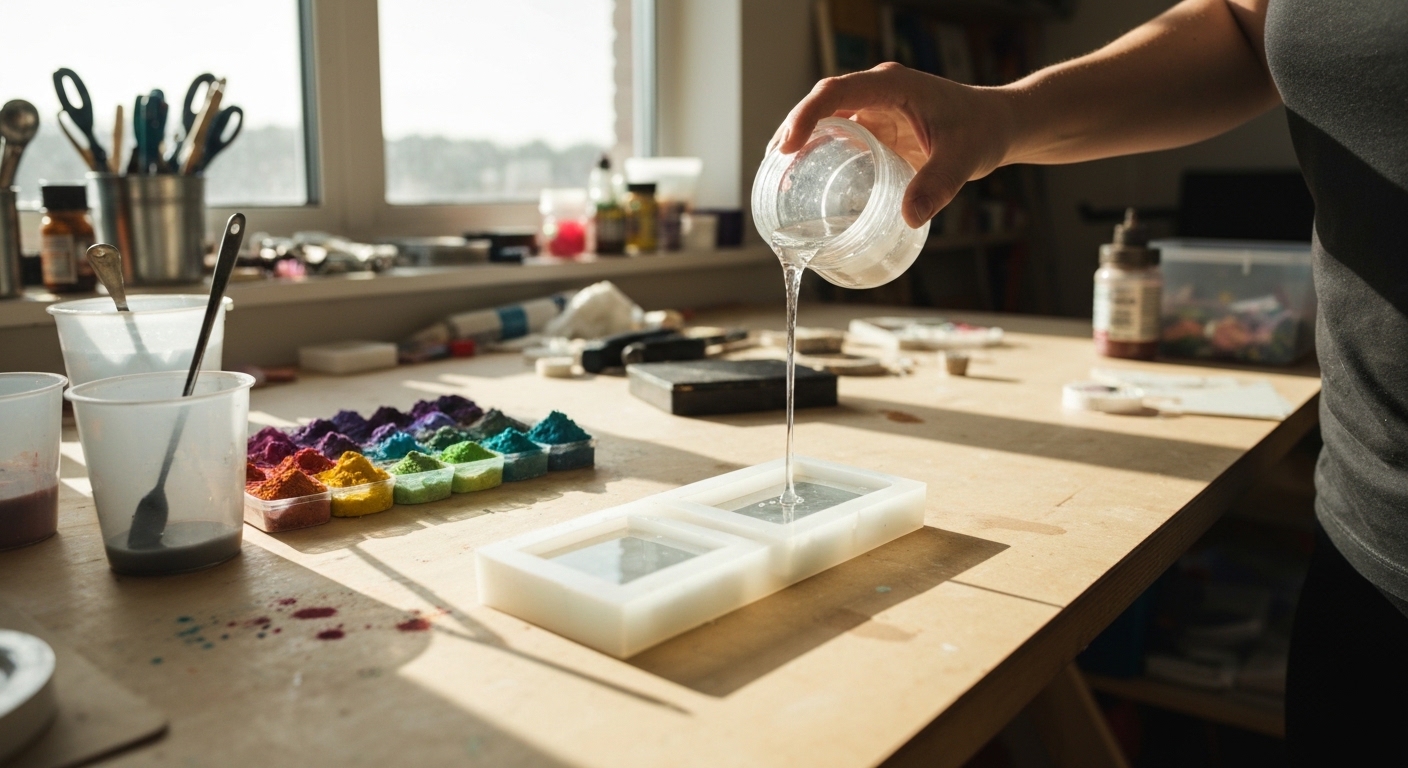
Mold Pours
Pour into silicone molds slowly and steadily from a low height to minimize bubble introduction. Fill to just below the rim — resin does not shrink, so what you pour is what you get.
Layered and Embedded Pours
When embedding objects like flowers, photos, or small items, pour a thin base layer first and let it become tacky (usually 4-8 hours depending on your resin). Then place your objects on the tacky surface and pour the next layer. This prevents objects from sinking to the bottom.
Eliminating Bubbles
Bubbles are the nemesis of every resin crafter. Here are your weapons:
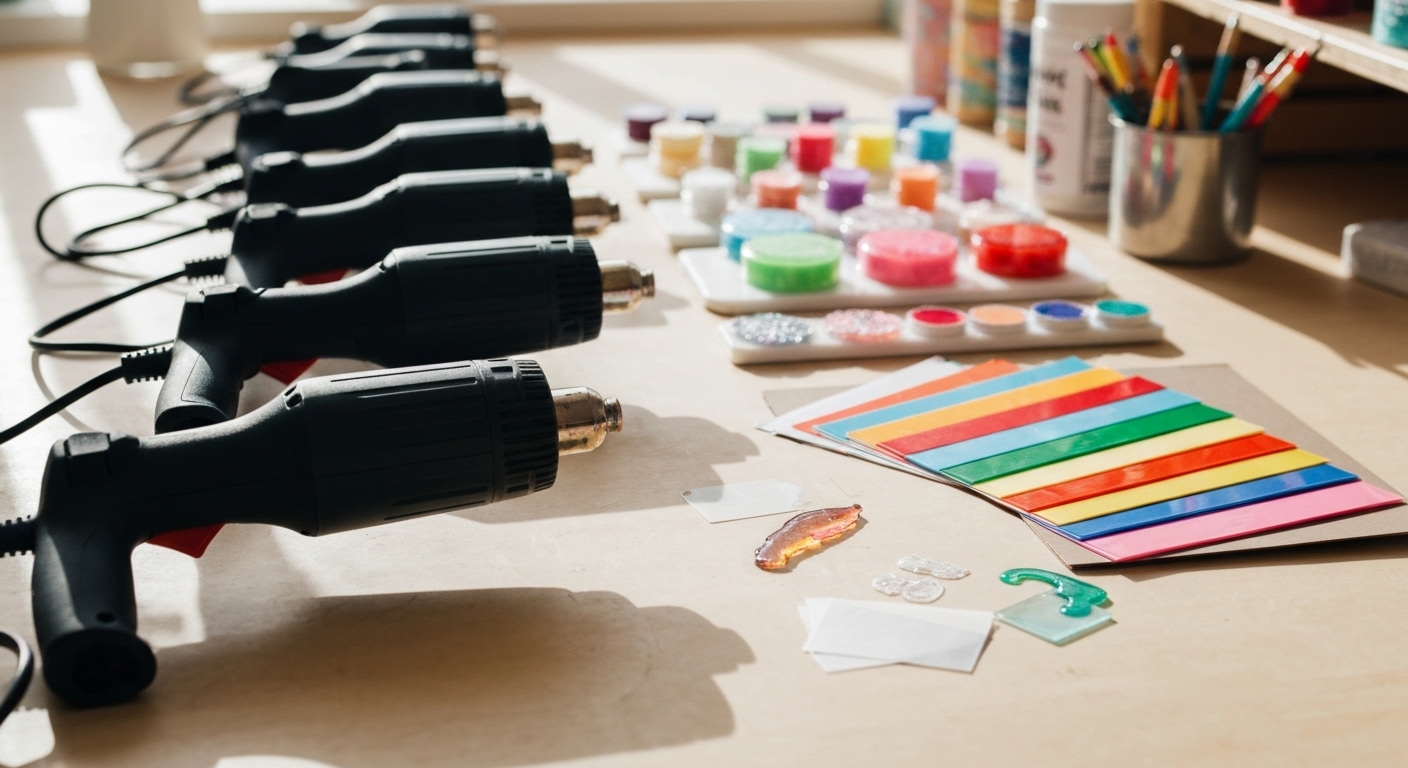
- Heat gun or torch — A quick pass with a heat gun or a small kitchen torch pops surface bubbles instantly. Keep it moving — do not hold the heat in one spot.
- Pressure pot — For professional-quality bubble-free castings, a pressure pot is the gold standard. It forces bubbles to compress to an invisible size.
- Prevention — Mix slowly, pour from low, and warm your resin before mixing. An ounce of prevention is worth a pound of cure (no pun intended).
Common Beginner Mistakes
Learning from other people’s mistakes will save you time, money, and frustration.
Mistake 1: Inaccurate Measuring
Even being slightly off on your ratio will cause problems. Always measure carefully, and when in doubt, measure by weight instead of volume.
Mistake 2: Undermixing
If you find sticky spots in your cured resin, you did not mix long enough. Commit to the full 3-5 minutes of stirring, plus the double-cup technique.
Mistake 3: Working in a Cold Room
Cold resin is thick, traps bubbles, and cures unevenly. Keep your workspace at 70-80 degrees Fahrenheit.
Mistake 4: Using the Wrong Resin for the Job
Pouring casting resin in a thin layer or coating resin in a deep mold will both cause problems. Match your resin to your project.
Mistake 5: Not Covering the Piece While Curing
Dust, pet hair, and bugs are attracted to curing resin like magnets. Cover your piece with a box, bin, or tent while it cures. Make sure the cover does not touch the resin surface.
Mistake 6: Skipping Safety Gear
This one is not about your project failing — it is about your health. Wear your gloves and respirator every time. No exceptions, no shortcuts.
Adding Color to Your Resin
Plain clear resin is beautiful, but color is where resin art really comes alive.
Types of Colorants
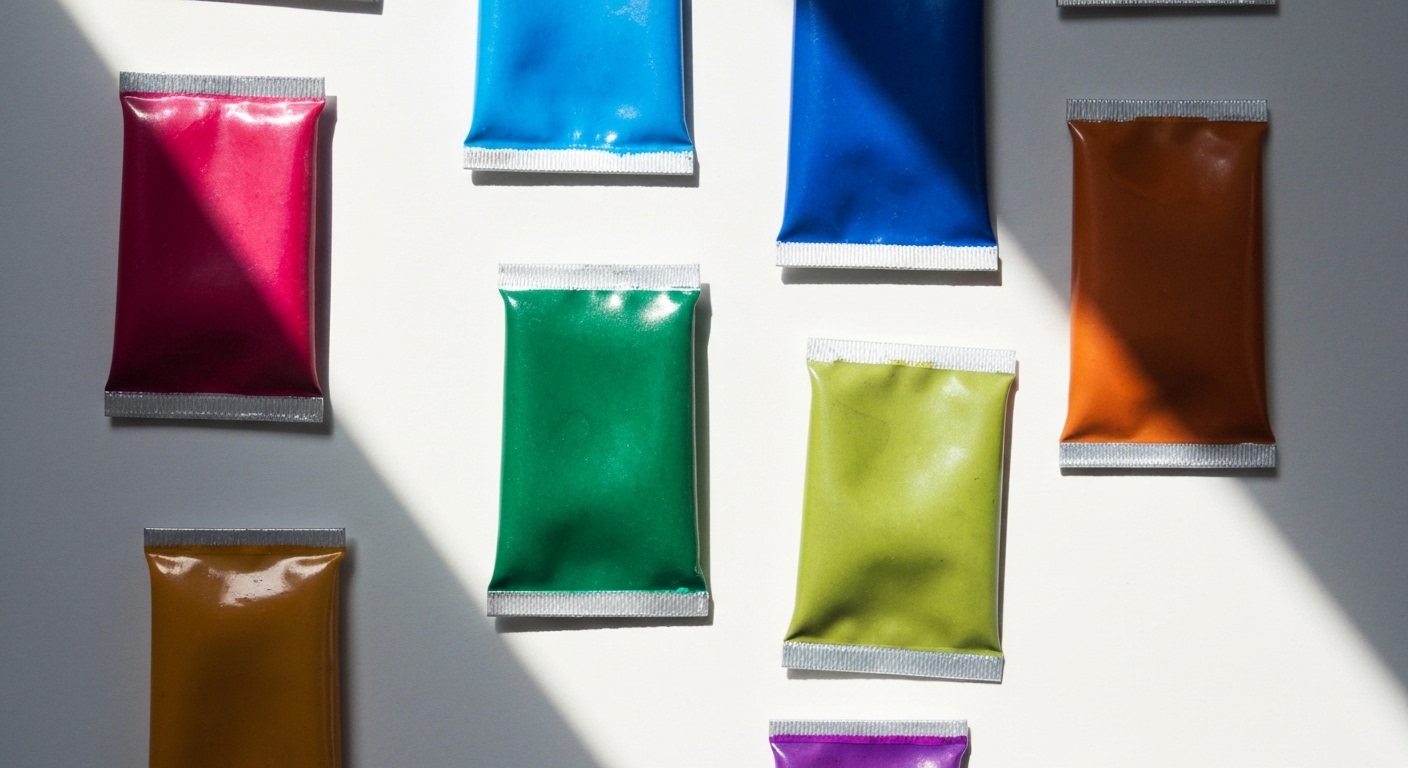
- Mica powder — Metallic, shimmery pigments that create stunning effects. A little goes a long way. Mica Powder Pigment Set kits are a great starting point.
- Alcohol ink — Transparent, vibrant colors that create organic, flowing patterns. Works best in clear resin.
- Resin-specific dyes — Liquid or paste colorants formulated specifically for resin. Give the most predictable, consistent results.
- Acrylic paint — Can work in small amounts (no more than 10% of total resin volume), but too much will interfere with curing.
Pro Tip: Less Is More
Start with a tiny amount of colorant — you can always add more, but you cannot take it away. For mica powder, dip just the tip of a toothpick into the powder and stir it in. You will be surprised how far it goes.
Beginner Project Ideas
Ready to get your hands dirty? Here are projects organized from simplest to more ambitious.
Level 1: First Projects
- Resin coasters — Use silicone coaster molds and add mica powder or dried flowers. This is the perfect first project.
- Resin bookmarks — Thin pours with glitter or small inclusions. Quick and forgiving.
- Jewelry pendants — Small bezels or silicone molds make beautiful necklace pendants.
Level 2: Building Confidence
- Resin trays — Larger molds with layered colors and embedded objects.
- Resin art panels — Pour colored resin onto canvas or wood panels and manipulate it with a heat gun for cell effects.
- Photo encapsulation — Seal favorite photos under a glossy resin layer.
Level 3: Ambitious Projects
- Cutting boards with resin accents — Combine woodworking with resin rivers.
- Resin and wood night lights — Cast resin with LED lights embedded for a glowing effect.
- Tumbler decoration — Apply resin designs to stainless steel tumblers using a cup turner.
Essential Supplies Checklist
Here is everything you need to get started with your first resin project:
- Epoxy resin kit (resin + hardener) — 16-32 oz for beginners
- Silicone molds (coasters, jewelry, or trays)
- Graduated mixing cups
- Wooden stir sticks or silicone spatulas
- Nitrile gloves (buy a whole box)
- Respirator with organic vapor cartridges
- Safety glasses
- Plastic drop cloth or silicone mat to protect your workspace
- Heat gun or small kitchen torch
- Mica powder or resin colorants
- Toothpicks (for detail work and popping small bubbles)
- Covering box or bin for curing
Your total startup cost will typically fall between $30 and $80 depending on the size of resin kit you choose and how many molds and colorants you pick up.
Final Thoughts
Epoxy resin is one of those rare craft mediums that looks incredibly impressive but is genuinely accessible to beginners. The learning curve is more about patience and precision than artistic skill. Follow the safety rules, measure carefully, mix thoroughly, and give your pieces time to cure — and you will be creating beautiful resin art in no time.
Start small, learn from each pour, and do not be afraid to experiment. Some of the best resin effects come from happy accidents. Just make sure you are wearing your gloves when they happen.
Frequently Asked Questions
Is epoxy resin toxic or dangerous to work with?
Uncured epoxy resin can cause skin sensitization and respiratory irritation, so proper safety gear is essential every time you work with it. Always wear nitrile gloves, a respirator with organic vapor cartridges, and safety glasses. Once fully cured, epoxy resin is inert and food-safe (for most formulations). The main long-term risk is developing a permanent allergy from repeated unprotected skin contact with uncured resin.
How long does epoxy resin take to cure?
Most epoxy resins are dry to the touch within 24 hours and reach full hardness in 48 to 72 hours at room temperature. Deep pour casting resins may take up to 7 days for a complete cure. Temperature significantly affects cure time: warmer rooms accelerate curing while cold environments slow it down. For best results, maintain a workspace temperature between 70 and 80 degrees Fahrenheit throughout the curing process.
Why is my resin still sticky after curing?
Sticky or tacky resin almost always results from inaccurate measuring or insufficient mixing. Even a small deviation from the correct resin-to-hardener ratio can prevent proper curing. To avoid this, always measure carefully using graduated cups, stir for a full three to five minutes, and use the double-cup method (pour into a second clean cup and stir again). Unfortunately, improperly cured resin cannot be fixed by waiting longer; the uncured layer must be removed and repoured.
Can you use epoxy resin outdoors or in the sun?
Most standard epoxy resins yellow when exposed to prolonged UV light. If your project will be displayed in sunlight, use a UV-resistant or UV-stabilized resin formula, and consider applying a UV-protective clear coat as an additional barrier. For purely indoor pieces, UV yellowing is rarely an issue. Outdoor projects like garden tables or planters require marine-grade epoxy specifically formulated for UV exposure.