How to Build a Simple Workbench: Weekend Project
Build a sturdy, functional workbench in a single weekend with dimensional lumber from the hardware store. Full cut list, step-by-step instructions, and design options.
Every Shop Needs a Workbench
A workbench is the heart of any woodworking shop. It’s where you plan, assemble, sand, chisel, and sometimes just stand and stare at a piece of wood trying to figure out your next move. Without a solid workbench, you’re working on wobbly folding tables, sawhorses, or the garage floor — and every one of those options makes your work harder and less precise.
The workbench design in this guide is deliberately simple. It uses standard dimensional lumber from any hardware store (2x4s and plywood or 2x6s for the top), requires no complex joinery, and can be built in a single weekend with basic tools. But simple doesn’t mean flimsy — this bench is rock solid, heavy enough to stay put while you work, and flat enough for serious woodworking.
Design Overview
This is a 60” x 24” workbench with a 34” working height. The frame is built from 2x4 construction lumber, the top is laminated 2x6 lumber (or a double layer of 3/4” plywood for a flatter, faster option), and the lower shelf provides storage and structural rigidity.
Final dimensions: 60” long x 24” deep x 34” tall (adjust height to your preference)
You can easily modify the length and depth to fit your space. Just keep the leg spacing under 48” to prevent sag, or add a center support rail.
What You’ll Need
Materials
| Piece | Quantity | Size | Notes |
|---|---|---|---|
| Legs | 4 | 2x4 x 34” | Cut from 8-foot 2x4s |
| Long top rails | 2 | 2x4 x 53” | Connect front/back legs at top |
| Short top rails | 2 | 2x4 x 17” | Connect side legs at top |
| Long bottom rails | 2 | 2x4 x 53” | Lower shelf support, front/back |
| Short bottom rails | 2 | 2x4 x 17” | Lower shelf support, sides |
| Top boards | 5 | 2x6 x 60” | Laminated to form benchtop |
| Lower shelf | 1 | 3/4” plywood, 53” x 17” | Cut from a half-sheet |
Alternative top: Instead of laminated 2x6s, use two layers of 3/4” plywood cut to 60” x 24”. Faster and flatter, but less durable for heavy pounding.
Hardware
- 3” deck screws (approximately 60)
- 2-1/2” deck screws (approximately 30)
- Wood glue
- Optional: 3/8” x 4” carriage bolts with washers and nuts (8) for knockdown leg assembly
Tools Required
- Circular saw or miter saw
- Cordless drill/driver
- Drill bits (1/8” pilot, countersink, and 3/8” if using bolts)
- Speed square or combination square
- Tape measure
- Clamps (at least 4-6 bar clamps, 24” or longer)
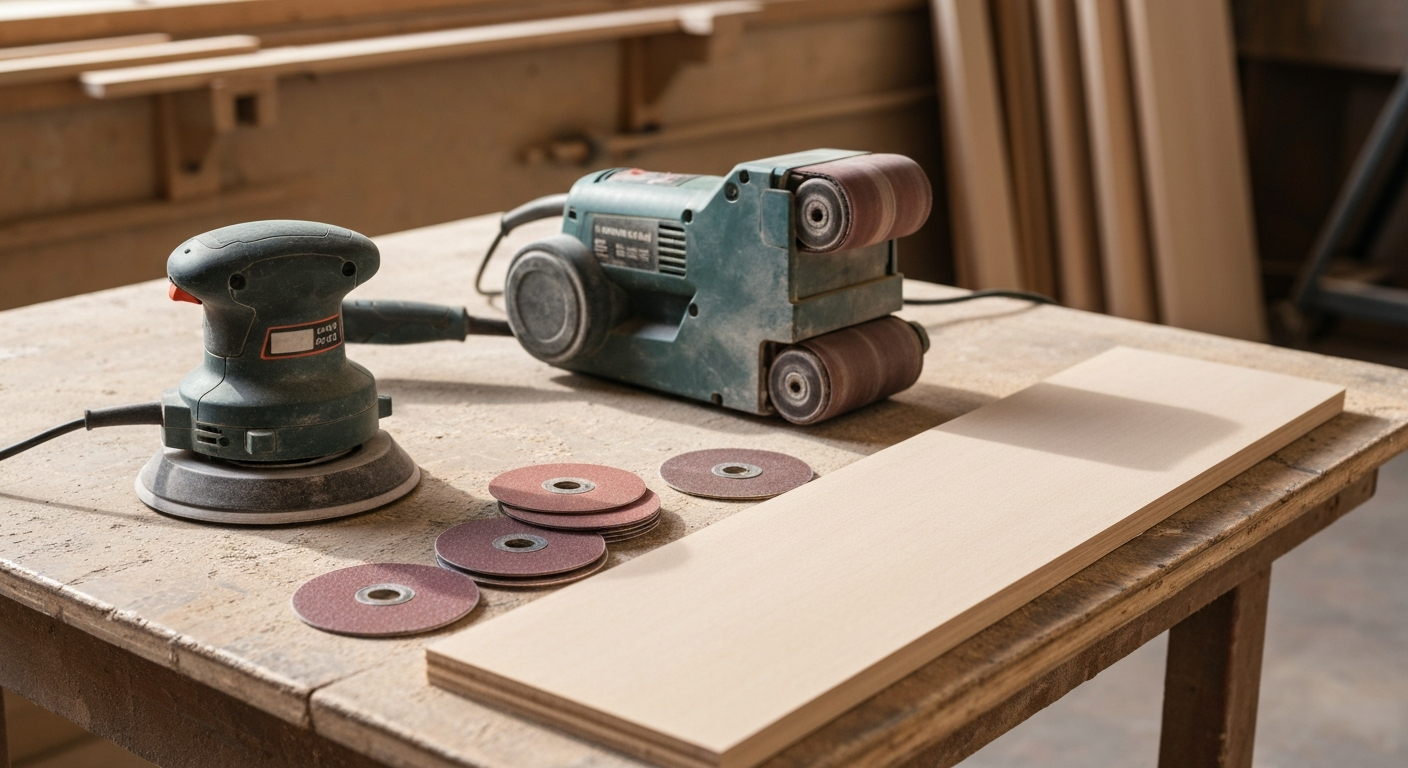
- Random orbital sander
- Level
- Pencil
Lumber Shopping List
- 8x 2x4 x 8’ studs (select the straightest ones — sight down the edge at the store)
- 5x 2x6 x 8’ (or 2 sheets of 3/4” plywood for the alternative top)
- 1x half-sheet 3/4” plywood (for the lower shelf)
Pro tip: Spend an extra five minutes at the lumber yard picking through the 2x4 pile. Reject anything that’s twisted, bowed, or has large knots near the ends. Straight lumber makes this build dramatically easier.
Step 1: Cut All Lumber to Size
Start by making all your cuts. Having every piece ready before assembly keeps the process smooth and prevents the frustration of stopping mid-build to make more cuts.
Legs (4 pieces): Cut four 2x4s to 34 inches. This gives you a 34-inch working height once the top is added, which is comfortable for most people between 5’8” and 6’2”. Adjust up or down by an inch or two to match your own height — you want the benchtop at about wrist height when you’re standing.
Long rails (4 pieces): Cut four 2x4s to 53 inches. Two are for the top frame, two for the lower shelf frame.
Short rails (4 pieces): Cut four 2x4s to 17 inches. Again, two top, two bottom.
Top boards (5 pieces): Cut five 2x6s to 60 inches.
Lower shelf: Cut a piece of 3/4” plywood to 53” x 17”.
Pro tip: Label each piece with painter’s tape and a marker as you cut. “Long top rail,” “Right rear leg,” etc. It prevents confusion during assembly.
Step 2: Build the Leg Assemblies
You’ll build two identical end frames, each consisting of two legs connected by a top rail and a bottom rail.
For each end frame:
- Lay two legs parallel on a flat surface, 17 inches apart (measuring from outside edge to outside edge).
- Position a short top rail across the top of the legs, flush with the top ends. The rail should sit flat (on the 3-1/2” face) against the inside of the legs.
- Drill two pilot holes through the outside of each leg into the end of the rail, then drive 3” screws. Use two screws per joint.
- Position a short bottom rail 6 inches up from the bottom of the legs (measured to the top of the rail). This raises the lower shelf off the floor and adds rigidity.
- Secure with pilot holes and 3” screws, same as the top rail.
Check that each end frame is square by measuring diagonals. Adjust while the screws are still loose if needed, then fully tighten.
For a knockdown design: Instead of screws at the top joints, drill 3/8” holes through the legs and rails and use carriage bolts. This lets you disassemble the bench for moving.
Step 3: Connect the End Frames
Stand both end frames upright and connect them with the long rails.
- Position a long top rail between the end frames, sitting on top of the short top rails, flush with the outside of the legs. Clamp it in place.
- Drive two 3” screws through each end of the long rail into the leg.
- Repeat for the second long top rail on the opposite side.
- Install the two long bottom rails in the same way, aligning them with the short bottom rails already in place.
At this point, you should have a free-standing rectangular frame. Give it a shake — it should feel solid with minimal racking. If it feels wobbly, check that all screws are fully seated and consider adding a diagonal brace on the back.
Safety warning: The frame is top-heavy without the benchtop installed. Keep it clamped or have a helper hold it while you work.
Step 4: Build the Benchtop
You have two options for the top. Choose the one that fits your needs and timeline.
Option A: Laminated 2x6 Top (Recommended)
This is the traditional approach and results in a thick, heavy top that can take serious abuse.
- Arrange five 2x6 boards (60” each) on the frame, good side up. Select the flattest boards and alternate the end grain direction (cupping up, cupping down) to minimize warping over time.
- Apply wood glue to each mating edge. You don’t need a lot — a thin, continuous bead is enough.
- Clamp the boards together tightly. Use at least six clamps alternating top and bottom (three from above, three from below) to keep the top flat.
- Wipe off all glue squeeze-out with a damp rag immediately.
- Let the glue cure overnight. Seriously — don’t rush this.
- Once cured, use a hand plane, belt sander, or random orbital sander (working through grits 60, 80, 120) to flatten any slight misalignment between boards.
The laminated top will be approximately 3” thick and incredibly strong.
Option B: Double Plywood Top (Faster)
- Cut two pieces of 3/4” plywood to 60” x 24”.
- Apply wood glue between the layers and screw them together from underneath with 1-1/4” screws every 8 inches.
- This gives you a 1-1/2” thick top that’s perfectly flat right away.
The plywood top is faster but won’t hold up as well to heavy clamping and chiseling over time.
Step 5: Attach the Top to the Frame
Center the benchtop on the frame (it should overhang 3-1/2” on each end and 3-1/4” on the front and back).
Drive 2-1/2” screws up through the top rails into the bottom of the benchtop, approximately every 10-12 inches. Pre-drill pilot holes to prevent splitting.
Pro tip: Don’t glue the top to the frame. Screwing without glue allows you to replace or resurface the top later. A workbench top is a wear surface — it will get beat up over time, and that’s fine.
Step 6: Install the Lower Shelf
Cut the plywood shelf to fit snugly between the legs, resting on top of the lower rails. Simply set it in place — no glue or screws needed. The weight of tools and supplies will hold it down, and being removable makes it easy to clean.
Step 7: Flatten and Finish
If you used the laminated 2x6 option, spend some time making the top as flat as possible. A belt sander or hand plane is your best friend here. Start by removing any high spots where one board sits above its neighbor, then do a final pass across the entire surface with your random orbital sander, finishing at 120 or 150-grit.
To Finish or Not to Finish?
There are two schools of thought:
Finish it: A couple coats of boiled linseed oil or Danish oil protects the top from spills and makes it easier to clean. The oil soaks in and doesn’t create a film that glue-ups would bond to.
Leave it raw: Raw wood is easier to flatten again later, and you don’t have to worry about maintaining the finish. When it gets too beat up, sand it down and start fresh.
I finish my bench with boiled linseed oil once a year. It takes 20 minutes and keeps the wood from drying out and splintering.
Safety reminder: Linseed oil rags can spontaneously combust. Spread them flat to dry outdoors or submerge in water. Never wad them up.
Optional Upgrades
Once your basic bench is built, consider these upgrades as your woodworking evolves:
Bench Vise
A front-mounted vise is one of the most useful bench accessories. It holds boards on edge for planing, secures pieces for chiseling, and acts as a third hand for assembly work.
Recommended: Eclipse 9” Quick Release Bench Vise — Quality cast iron vise that mounts through the benchtop. The quick-release feature saves time.
Dog Holes
Drill a series of 3/4” holes in a grid pattern across the top. Combined with bench dogs and holdfasts, these holes give you unlimited clamping options for oddly shaped pieces.
Power Strip
Mount a power strip on one end or along the back apron. Having convenient power access prevents extension cord tangles.
Back Panel
Attach a sheet of pegboard or a French cleat system to the wall behind the bench. Hang your most-used hand tools where you can reach them without taking a step.
Common Mistakes to Avoid
- Making it too tall or too short. Working at the wrong height causes back strain. Stand naturally and measure from the floor to where your wrist creases with your arm hanging — that’s your ideal bench height.
- Skipping the lower shelf. The shelf adds enormous rigidity. Without it, the bench will rack side to side under lateral force.
- Using warped lumber. A bench built from twisted 2x4s will never sit flat. Be picky at the lumber yard.
- Making it too small. A 4-foot bench feels adequate until you’re building anything longer than 3 feet. Go at least 5 feet long if you have the space.
Final Thoughts
This bench won’t win any beauty contests, and it’s not designed to. It’s designed to be built in a weekend, last for years, and take a beating without complaint. Many professional woodworkers’ daily-use benches are variations of exactly this design — dimensional lumber, screwed together, with a thick laminated top.
Build it, use it, and don’t baby it. A workbench with scratches, glue stains, and chisel marks on the top is a workbench that’s been earning its keep. And six months from now, when your skills have grown and your shop is filling up, you’ll still be building at this bench.