How to Build an Outdoor Planter Box: Cedar Planter Plans
Build a beautiful, rot-resistant cedar planter box with this step-by-step guide. Includes cut list, assembly instructions, drainage details, and finishing options.
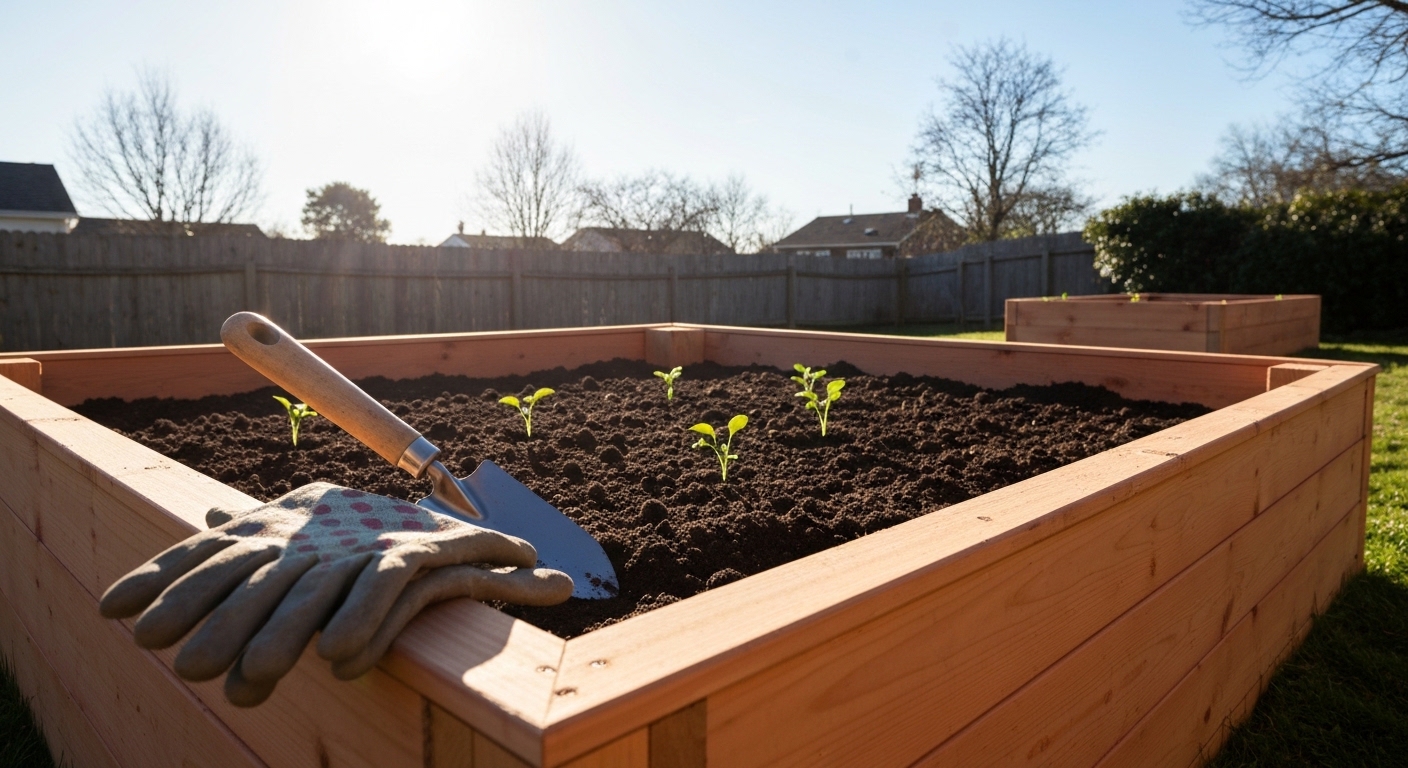
Why Build Your Own Planter Box?
A well-built planter box does three things: it holds soil and plants, it lasts for years outside in rain, snow, and sun, and it looks far better than the plastic alternatives from the garden center. Building your own means you control the size, the material, and the quality — and you save money in the process.
This design uses western red cedar, which is naturally rot-resistant and doesn’t need chemical treatment. It’s a simple box with clean lines that looks good on a porch, patio, deck, or flanking a front door. The build is beginner-friendly and doesn’t require any special tools beyond what you’d find in a basic woodworking kit.
Why cedar? Cedar contains natural oils (thujaplicins) that resist rot, decay, and insect damage. A cedar planter will last 10-15 years outdoors — far longer than pine or spruce — without pressure treatment or toxic chemicals. This matters especially if you’re growing herbs or vegetables.
Design Overview
This planter is 24 inches long, 12 inches wide, and 12 inches tall. It holds a generous amount of soil for herbs, flowers, or small vegetable plants. The design is easily scalable — double the length for a window box style, or increase width and depth for small shrubs.
Finished dimensions: 24”L x 12”W x 12”H (exterior)
What You’ll Need
Materials
| Piece | Quantity | Dimensions | Material |
|---|---|---|---|
| Long side panels | 2 | 3/4” x 11-1/4” x 24” | 1x12 cedar |
| Short side panels | 2 | 3/4” x 11-1/4” x 10-1/2” | 1x12 cedar |
| Bottom slats | 3 | 3/4” x 3-1/2” x 22-1/2” | 1x4 cedar |
| Corner cleats | 4 | 1-1/2” x 1-1/2” x 10-1/4” | 2x2 cedar |
| Bottom support cleats | 2 | 3/4” x 1-1/2” x 22-1/2” | 1x2 cedar |
| Optional: feet | 4 | 1-1/2” x 1-1/2” x 1-1/2” | 2x2 cedar offcuts |
Hardware
- 1-5/8” stainless steel or exterior-rated screws (about 40)
- 1-1/4” stainless steel screws (about 10, for bottom slats)
- Exterior wood glue (Titebond III)
Important: Use stainless steel or coated exterior screws. Regular steel screws will rust and stain the cedar black within months. The chemical reaction between cedar tannins and iron is aggressive.
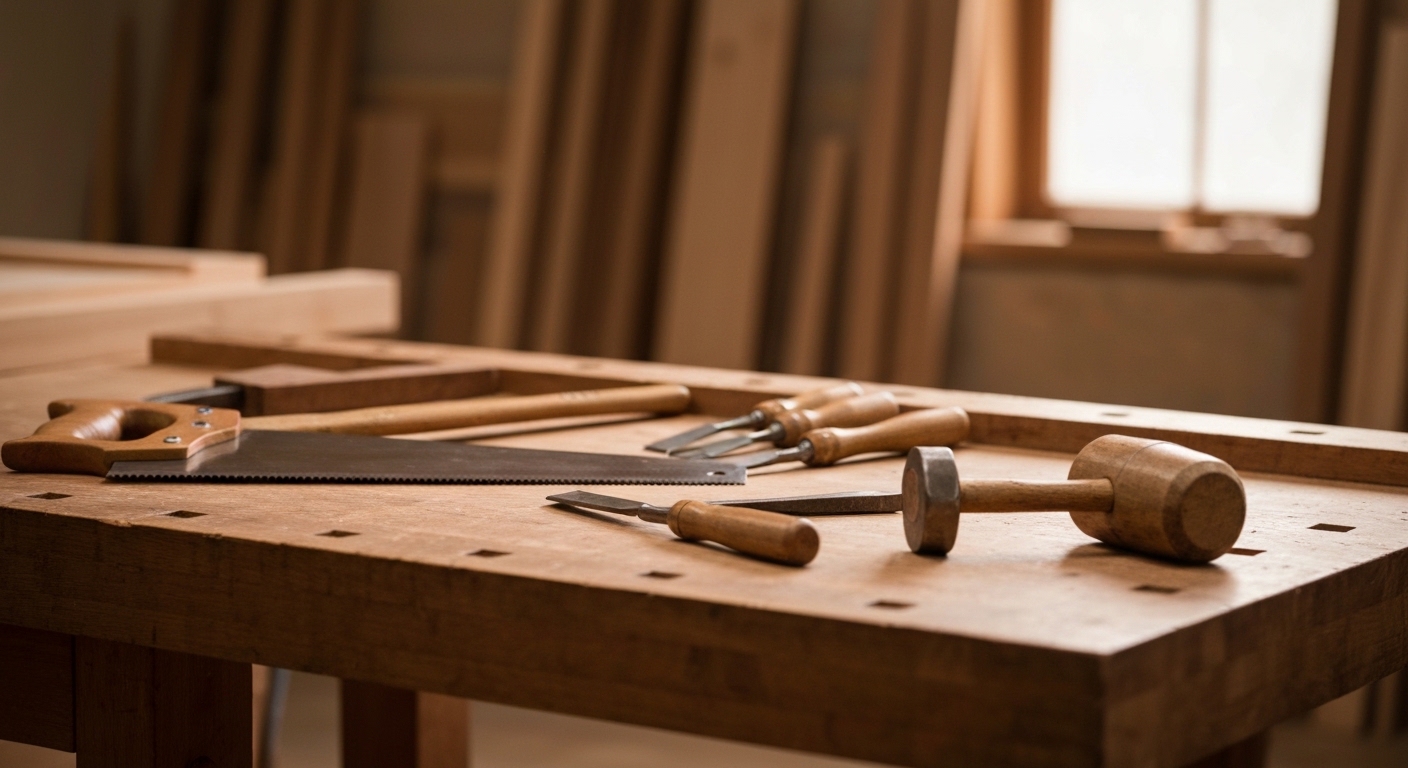
Tools
- Circular saw or miter saw
- Cordless drill/driver
- Drill bits (1/8” pilot, countersink)
- Tape measure
- Speed square
- Clamps
- Sandpaper (120 and 220-grit)
- Pencil
Lumber Shopping List
- 2x 1x12 x 6’ cedar boards (sides)
- 1x 1x4 x 6’ cedar board (bottom slats)
- 1x 2x2 x 4’ cedar post or balusters (corner cleats)
- 1x 1x2 x 4’ cedar strip (bottom support cleats)
Pro tip: Cedar can be expensive at big box stores. Check local lumber yards, especially those that cater to fence builders — they often stock cedar at significantly lower prices.
Step 1: Cut All Pieces
Make all your cuts before starting assembly. Double-check each measurement before cutting.
Long side panels (2 pieces): Cut two pieces of 1x12 cedar to 24 inches. These are the front and back of the planter.
Short side panels (2 pieces): Cut two pieces of 1x12 cedar to 10-1/2 inches. These are the left and right sides. The measurement accounts for the thickness of the two long panels — when assembled, the overall width will be 12 inches (10-1/2” + two 3/4” boards).
Bottom slats (3 pieces): Cut three pieces of 1x4 cedar to 22-1/2 inches. These will lay across the bottom with gaps between them for drainage.
Corner cleats (4 pieces): Cut four pieces of 2x2 cedar to 10-1/4 inches. These reinforce the inside corners and give the screws something solid to bite into.
Bottom support cleats (2 pieces): Cut two pieces of 1x2 to 22-1/2 inches. These mount along the inside of the long panels near the bottom to support the bottom slats.
Optional feet (4 pieces): Cut four 1-1/2” cubes from 2x2 offcuts. These lift the planter off the ground for air circulation and drainage.
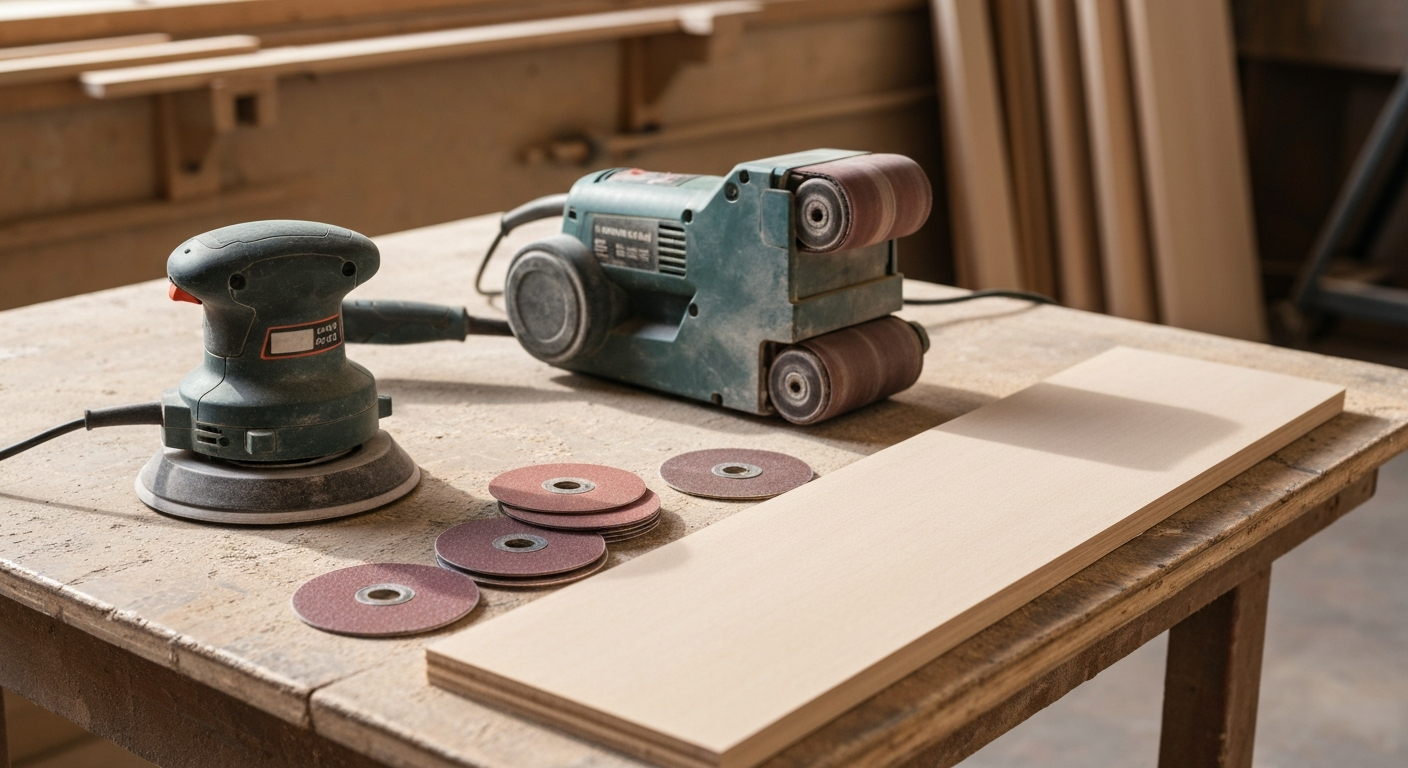
Step 2: Sand All Pieces
Sand all pieces now, before assembly, while every surface is accessible. Cedar is a soft wood and sands quickly.
Use 120-grit to remove any rough spots, mill marks, or splinters, then follow with 220-grit for a smooth finish. Pay extra attention to the top edges of the side panels — those are the surfaces people see and touch.
Pro tip: Cedar is soft enough that aggressive sanding can create dips and unevenness. Use light, even pressure and let the sandpaper do the work.
Step 3: Attach Corner Cleats to Short Side Panels
The corner cleats are the structural backbone of this planter. They connect the short sides to the long sides and provide solid material for the screws.
- Take one short side panel (10-1/2” piece).
- Position a corner cleat vertically along the inside face, flush with the left edge and the top of the panel. The cleat should sit 1 inch above the bottom edge of the panel (this leaves room for the bottom slats).
- Apply exterior wood glue to the cleat face.
- Drill three pilot holes through the outside of the panel into the cleat.
- Drive 1-5/8” exterior screws into each hole.
- Repeat for the right edge of the same panel.
- Repeat the entire process for the second short side panel.
You should now have two short side panels, each with two vertical corner cleats attached to the inside face.
Step 4: Attach Long Side Panels
Now you’ll connect the long panels to the short panel assemblies to form the box.
- Stand one short side panel assembly upright on a flat surface.
- Butt a long side panel against the exposed face of one corner cleat, with the outside of the long panel flush with the end of the short panel.
- Apply glue to the joint area.
- Drill three pilot holes through the long panel into the corner cleat.
- Drive 1-5/8” screws.
- Attach the second long panel to the other corner cleat on this same short side.
You now have a three-sided box. Attach the second short side panel to close the rectangle, following the same process.
Pro tip: Clamp the pieces together before drilling to keep everything flush and square. Check for square by measuring the diagonals — they should be equal.
Step 5: Install Bottom Support Cleats
The bottom support cleats are strips that run along the inside of the long panels, near the bottom, to support the bottom slats.
- Measure 1 inch up from the bottom of the box on the inside of each long panel. Mark a line.
- Apply glue to a 1x2 bottom support cleat.
- Align the top of the cleat with your 1-inch mark.
- Screw through the cleat into the long panel using 1-5/8” screws, every 6 inches.
- Repeat on the opposite long panel.
Step 6: Install Bottom Slats
The bottom uses slats rather than a solid panel to allow drainage — the single most important detail for a healthy planter. Standing water in the bottom will rot the wood and kill your plants.
- Lay three 1x4 slats across the bottom of the box, resting on the support cleats.
- Space them with approximately 1/4” gaps between the slats and the front/back panels. This creates drainage channels.
- Screw each slat to the support cleats with 1-1/4” screws, two screws per slat per side.
Important: Do not seal or caulk the gaps. Drainage is essential. If you’re concerned about soil falling through, line the inside with landscape fabric before filling with soil — it lets water through but retains soil.
Step 7: Attach Optional Feet
Feet lift the planter off the ground, which provides three benefits: improved drainage, air circulation under the box (preventing moisture trap rot), and protection for the deck or patio surface underneath.
- Flip the planter upside down.
- Apply glue to each 1-1/2” cube.
- Position one foot at each corner, about 1/2” inset from the edges.
- Drive a screw through the bottom slat into each foot.
- Flip the planter right-side up and check that it sits level.
Step 8: Finishing (Optional but Recommended)
Cedar is beautiful unfinished and will weather to a silver-gray patina over time. Some people love this look and intentionally leave cedar untreated. If you prefer to maintain the warm, reddish-brown color, you have several options:
Option 1: Exterior Wood Oil
A penetrating exterior oil like Watco Exterior Wood Finish soaks into the cedar and provides UV protection to maintain the natural color. Reapply once a year.
Option 2: Spar Urethane
For maximum protection, two coats of exterior spar urethane will seal the wood against moisture and UV damage. This is the most durable option but changes the feel of the wood and requires more maintenance (sanding and recoating every 2-3 years).
Option 3: Exterior Paint
If you want a pop of color on your patio, cedar accepts paint well. Prime with an exterior primer, then apply two coats of exterior latex paint in your color of choice.
What About the Inside?
For food-garden planters (herbs and vegetables), don’t apply any finish to the interior surfaces. Most finishes contain chemicals you don’t want leaching into your soil. Cedar’s natural rot resistance is sufficient. For flower-only planters, you can apply linseed oil to the inside for extra protection.
Safety warning: If using linseed oil, spread application rags flat to dry outdoors. Linseed oil rags can spontaneously combust.
Filling Your Planter
Now for the fun part — the reason you built this thing.
Lining
Line the interior with landscape fabric before adding soil. Cut a piece large enough to cover the bottom and sides, with about 2 inches of extra fabric at the top. Staple it in place along the inside upper edges. The fabric prevents soil from washing through the drainage gaps while allowing water to pass freely.
Soil
Use a high-quality potting mix, not garden soil. Garden soil is too dense for containers and won’t drain properly. For herbs and vegetables, look for an organic potting mix. For flowers, a general-purpose potting mix works well.
Fill to about 1-2 inches below the top edge. The soil will settle over the first few waterings.
Drainage Check
After filling, water the planter thoroughly and watch the bottom. You should see water draining freely from the slat gaps within a minute or two. If water pools on top or drains very slowly, the soil may be too compacted — loosen it with a hand trowel.
Scaling the Design
This design is easily modified:
- Window box (36” x 8” x 8”): Use 1x8 cedar instead of 1x12 for the sides. Reduce width to 6-1/2” for the short sides. Add mounting cleats on the back for wall attachment.
- Large patio planter (36” x 18” x 18”): Use 1x12 cedar boards doubled up (two boards per side panel) for the height. Add a center bottom support cleat to prevent slat sag.
- Raised garden bed (48” x 24” x 12”): Same design, just longer. Add a center cross brace inside if exceeding 36” in length.
Design Variations
Slatted Sides
Instead of solid 1x12 panels, use four 1x4 boards per side with 1/4” gaps between them. This creates a more open, contemporary look and reduces material cost. The trade-off is that soil is more visible and you’ll need landscape fabric on the sides as well.
Tapered Sides
Cut the side panels wider at the top than at the bottom (14” top, 10” bottom, for example). This creates a tapered profile that looks more refined and prevents the planter from looking like a plain box.
Trim and Cap
Add a 1x2 trim piece along the top edge and small 1x3 cap pieces at the corners. This gives the planter a more finished, furniture-like appearance.
Common Mistakes to Avoid
- Using pressure-treated lumber for food gardens. Modern pressure-treated wood uses copper compounds that can leach into soil. Cedar or untreated wood is the safe choice for edible plants.
- Skipping drainage. A planter without drainage is a plant coffin. Always include gaps, holes, or drainage slats.
- Using interior screws. Regular steel screws rust fast outdoors. The rust streaks down the wood and leaves black stains. Use stainless steel or coated deck screws.
- Not pre-drilling in cedar. Cedar splits easily near the ends of boards. Always drill pilot holes, especially within 2 inches of any board end.
- Sitting the planter directly on wood decking. Moisture trapped between the planter bottom and the deck will rot both surfaces. Use feet, pot risers, or even small pieces of tile to create an air gap.
Final Thoughts
This planter takes about 3-4 hours to build and costs between $30-60 depending on your local cedar prices. It will outlast a dozen plastic pots, look better doing it, and give you a satisfying afternoon in the shop.
Build one and you’ll likely build several more. They make excellent gifts, they’re perfect for adding curb appeal to a front porch, and there’s something deeply satisfying about eating herbs from a planter you built with your own hands.